Getting crazy with the Aperture curves feature
After playing with my Hipstamatic images for the past several days, I finally remembered that I’d taken a few shots with my DSLR the same weekend. I pulled out the memory card and downloaded the photos.
I seem to have had some difficulty switching from the square frame of Hipstamatic back to the rectangular frame of the DSLR–there were many extraneous things in my DSLR images.
I thought about talking about how the DSLR images were technically better images than the Hipstamatic images, but really, they’re not from an execution point of view. If you want to compare megapixels and talk about sharpness, well yes, they are. But, that’s not better execution; that’s better equipment.

A more conservative adjustment
In any case, instead of trying to prove you can take technically better photos that still don’t look as appealing as what might be considered a flawed photo, I thought I’d try taking one image and doing a lot of different edits with it. I chose a DSLR image because of the better resolution and because it’s in RAW, both of which help images stand up to more edits.
This is the Hipstamatic image that I spent about 30 seconds creating:

Hipstamagic
By comparison, this is the original image from my DSLR (no adjustments/edits):
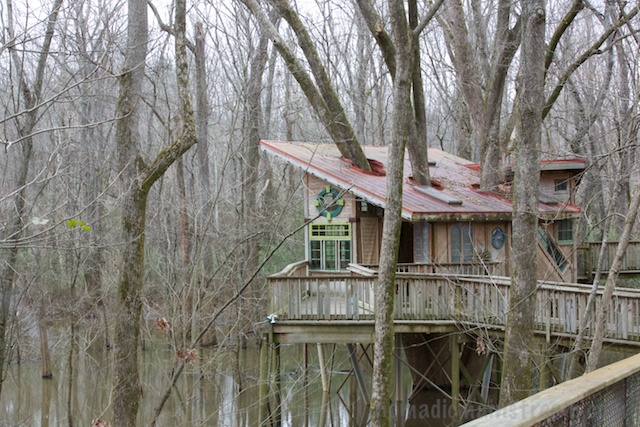
It’s not quite a fair comparison because of the differences in composition, but it’s the best I can do.
Now, what can you do with a not very exciting image of a treehouse? Well, Hipstamatic has already done a lot of editing for me. But I decided to push Aperture a bit to get a better idea of what kinds of things can be achieved in this relatively simple editing tool.
I don’t advise this exercise be started within 2 hours of bed time. It’s addictive.

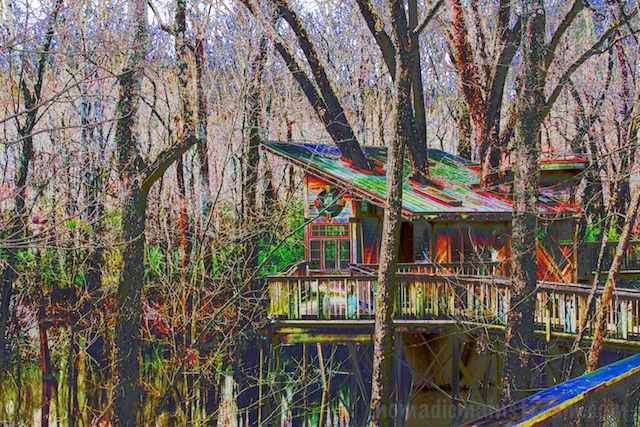
This is what happened when I started playing with the separate RGB channels in the curves feature
For most of the effects, I used only one adjustment: curves. I tweaked a bit in saturation, highlights, and levels. But I literally spent an hour playing with dragging a curve around into crazy shapes just to see what would happen.
By the way, I didn’t sit down thinking “I think I’ll play with the curves feature tonight.” This idea all started when I was adjusting an image and I accidentally pulled the curve too far in one direction. The photo did something interesting and I liked it.
The curves feature is truly like coloring. Maybe scribbling is more accurate. Whatever it is, it’s fun. I don’t often say that about photo editing.
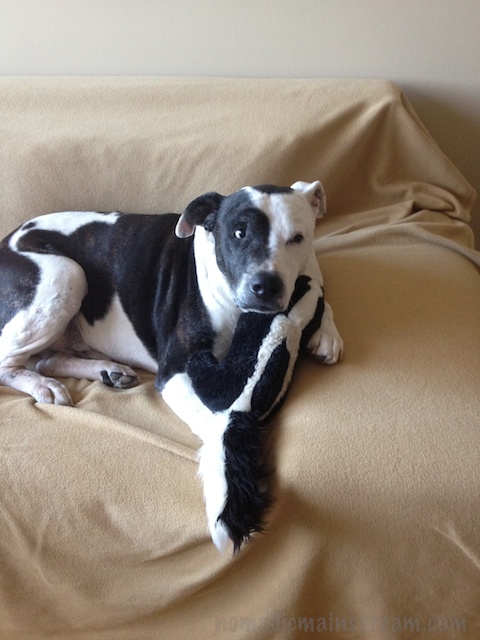
Tisen cuddles Skunk on the sofa after a walk
Tisen has resurrected Skunk from the bottom of the toy bin lately. This may be my doing–sometimes when he wants to take Big Dog or Squirrel on a walk (both of which trip him when he carries them), I make a quick substitution. I think he had forgotten he had Skunk. I like that the two of them together make a stripe pattern against a swirl pattern, but both in black and white. Tisen seems to have discovered Skunk also makes a great pillow.

I like your tree house photos. How do you do that? You are like an artist with your camera. Skunk looks like Tisen’s baby.
Hipstamatic makes it very easy–a couple swipes, a click, and I’m done. People often comment on how Skunk and Tisen match–Tisen definitely thinks Skunk is his baby. 🙂