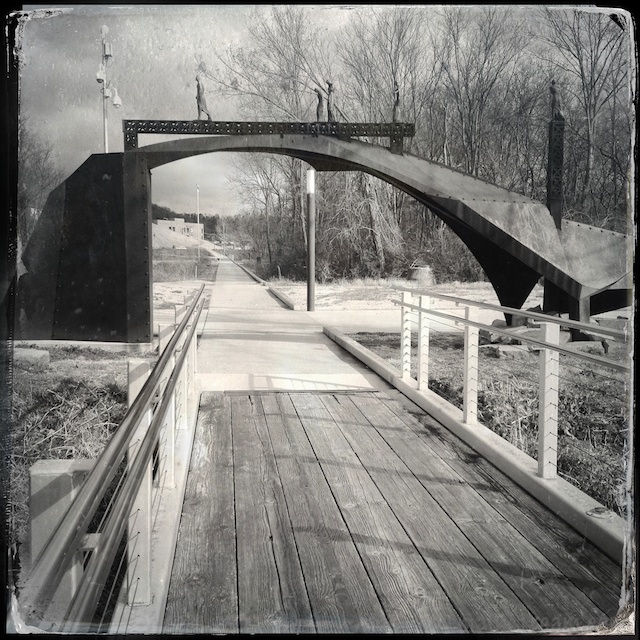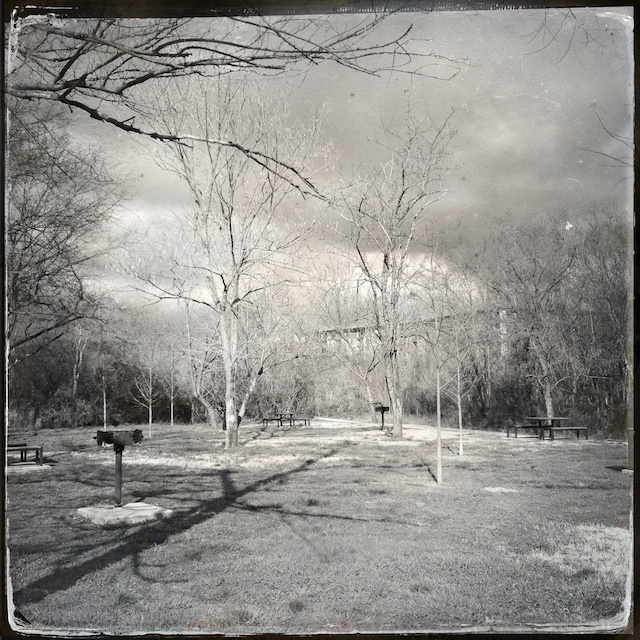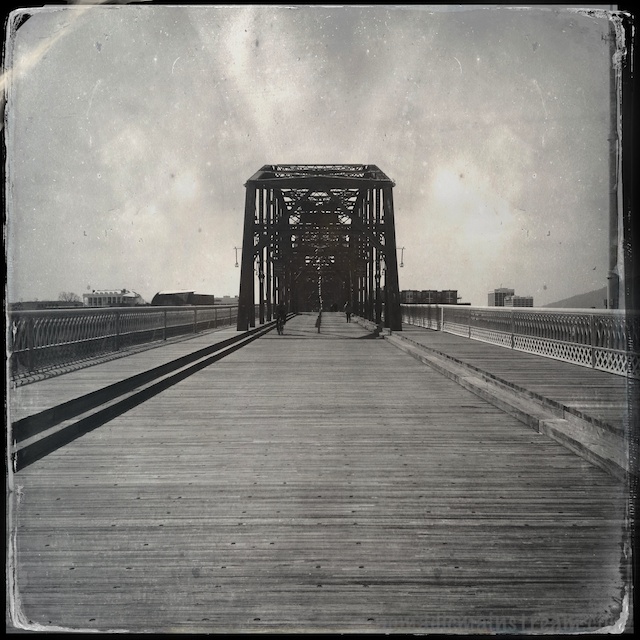
Looking up the slope from the North Shore end of the Walnut Street Bridge
I may be suffering from Hipstamatic addiction. I started thinking about all the riverfront scenery we haven’t been frequenting this winter and how great it would look in the tintype style. So, Tisen and I took a longer walk than we’ve taken in a while and headed over to the Walnut Street bridge. It was the perfect day for it. The warmth and sunshine caused a growth spurt in the tourist population roaming the bridge. Had I not been walking Tisen, I would have blended right in taking pictures with my iPhone.
The Walnut Street Bridge has been a frequent subject for many-a-photographer. I’ve shot it so many times from so many angles, I keep thinking there aren’t any images left to capture. But, I had never shot it with Hipstamatic!

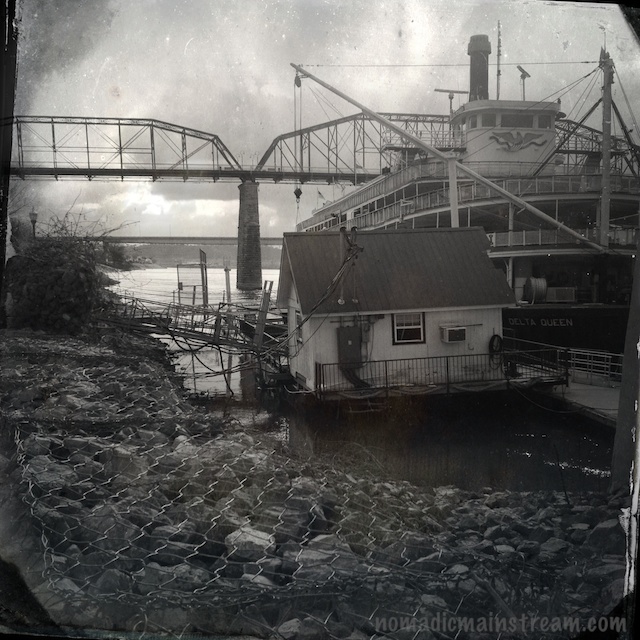
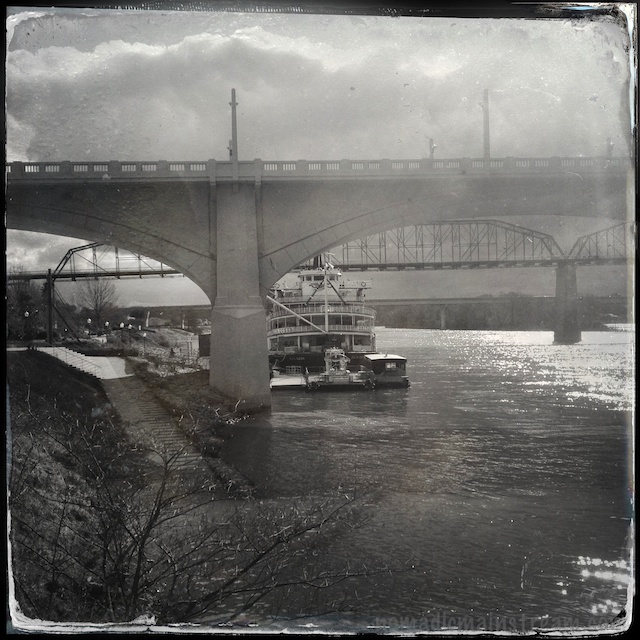
Looking downstream from the North end of the bridge provides a nice view of the Delta Queen
According to Wikipedia, it’s “one of the longest pedestrian bridges in the world,” but when I tried to verify this, I quickly found 2 longer pedestrian bridges within the united states and 3 in other countries. So, maybe it’s within the top 10 or so, but I couldn’t find an official list in the amount of time I was willing to spend searching.
According to my GPS, it’s about a half a mile long, which is consistent with Wikipedia’s measurement of 2,376 feet–264 feet shy of a half mile. It’s historical significance is more interesting, but part of it is quite sad. I’ll skip the gory details–those of you who are interested can find more information here.

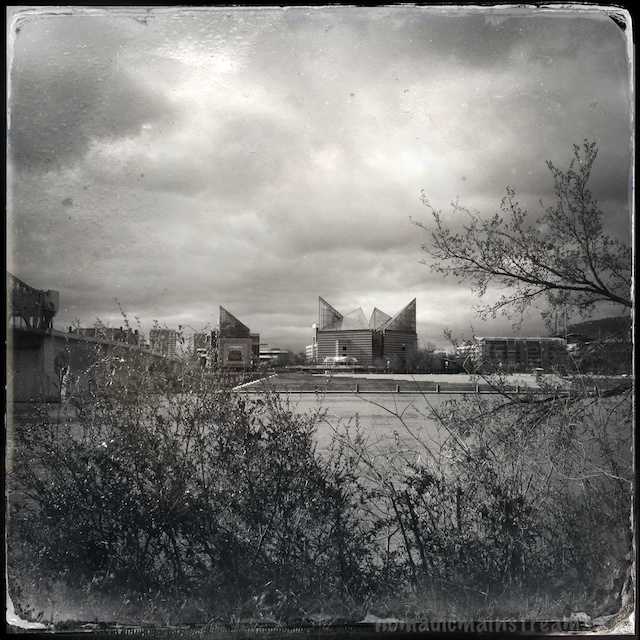
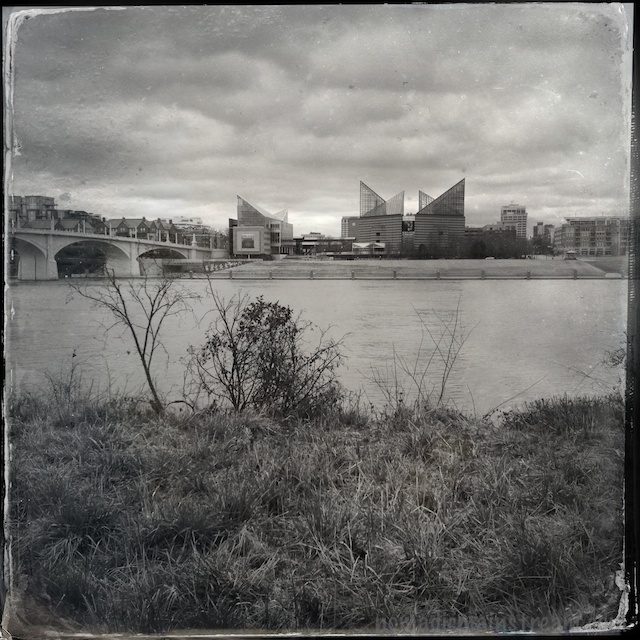
Lookout Mountain looms in the background behind the Tennessee Aquarium
The happier state of the bridge began when a group of citizens in Chattanooga decided the bridge should be saved when it had been closed and abandoned for so long that it was a dangerous eyesore (this is hear-say information). Now, it’s an awesome walking bridge.
As we made our way gradually across the bridge, greeting the occasional neighbor and exchanging smiles with strangers, Spring suddenly struck me. By this, I mean I was suddenly overcome by that special joy that only happens when you get out in the sunshine on one of the first really warm days that kick off the season and know that winter is almost over. Exhilaration. That’s the word.

Looking through the bridge trusses toward the bluff and the Hunter Museum
One of the unique aspects of the Walnut Street Bridge is the slope. The North Shore end is just above the river while the Downtown end is up on the bluff, so it’s a pretty steep climb.
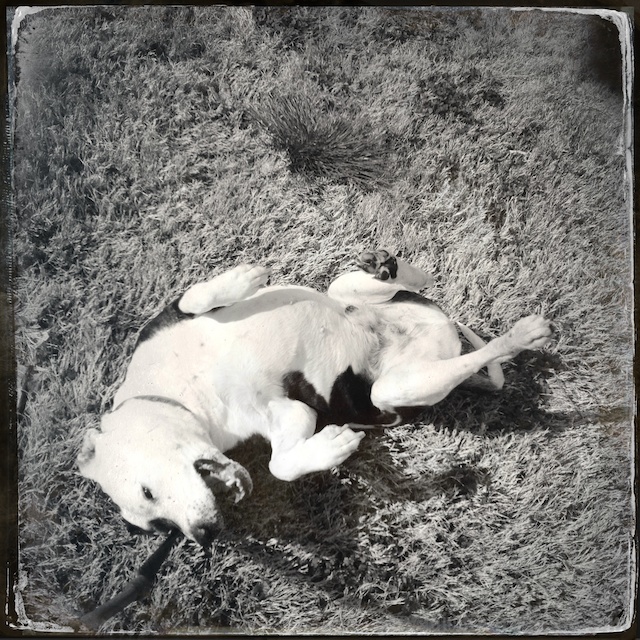
Tisen definitely felt the climb. He seemed very happy to stop and let me shoot for once. Every time I paused to shoot, he paused to pant, standing perfectly still. I guess this means I can’t blame him for my misfires.
At the risk of falling once more into the “Always Perfect” pitfall of loving my subject so much I think every photo of him is worth sharing, I took this late last night:

Tisen and Daddy napping on the sofa (Daddy with a pillow over his head)