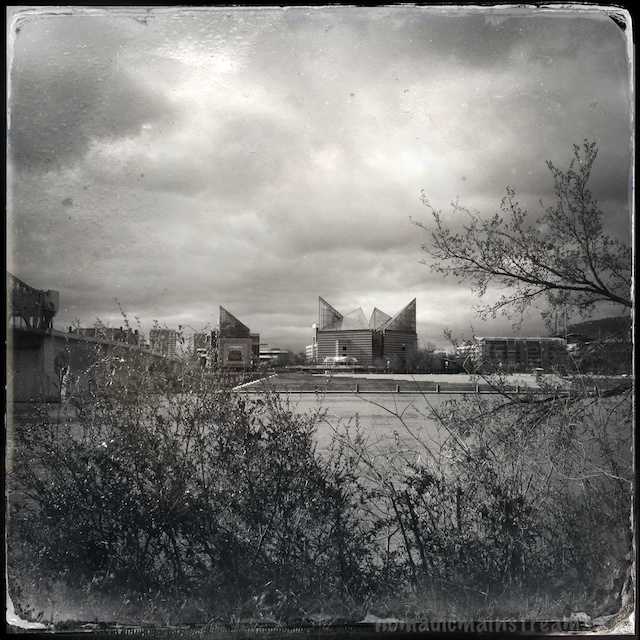
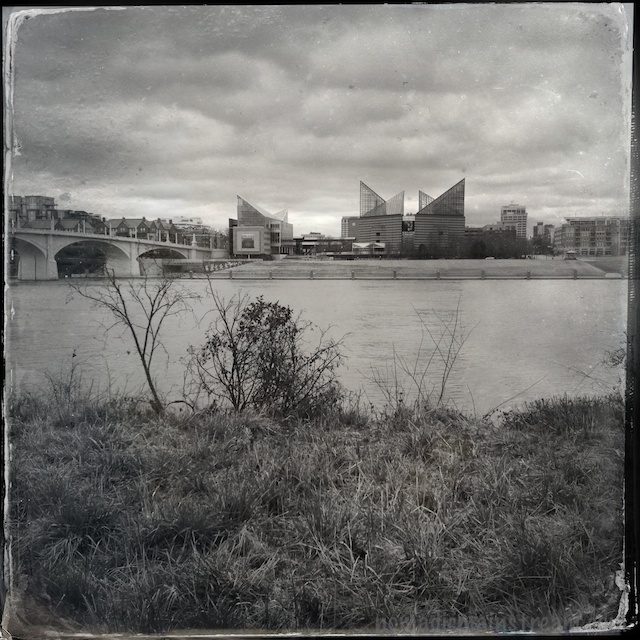
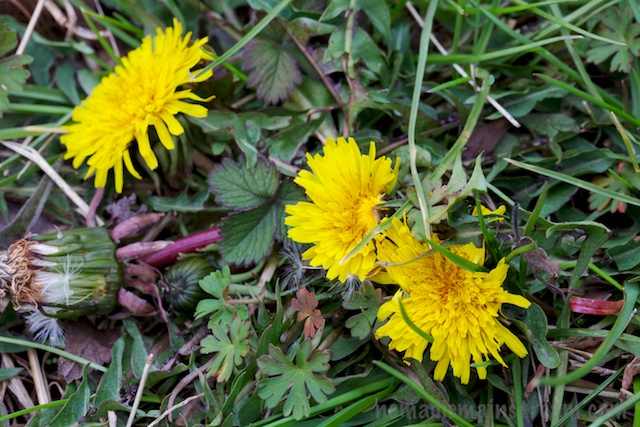
Looking down the walkway in the park and across the river at the Tennessee Aquarium
I learned one of the limitations of shooting with an iPhone using an app like Hipstamatic, which applies all of the edits as you shoot: fixing tilt doesn’t work out so well. Because the effects applied to the images include a noticeable border, when I tried to straighten some of the images, I ended up with a crooked border.
Hipstamatic doesn’t have a level (or at least I haven’t found it) that appears in the screen like some apps. When I’m shooting a scene with lots of angles and curves, I have a hard time telling when I’m level and when I’m not. Sometimes I suspect I walk around at an angle.
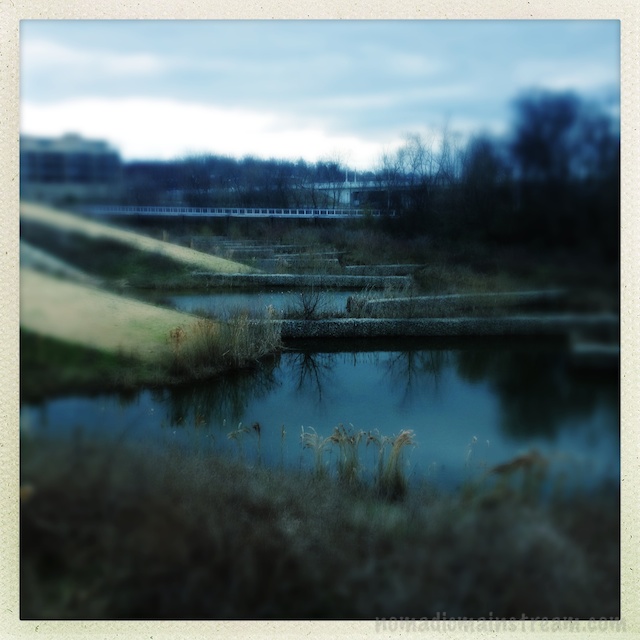
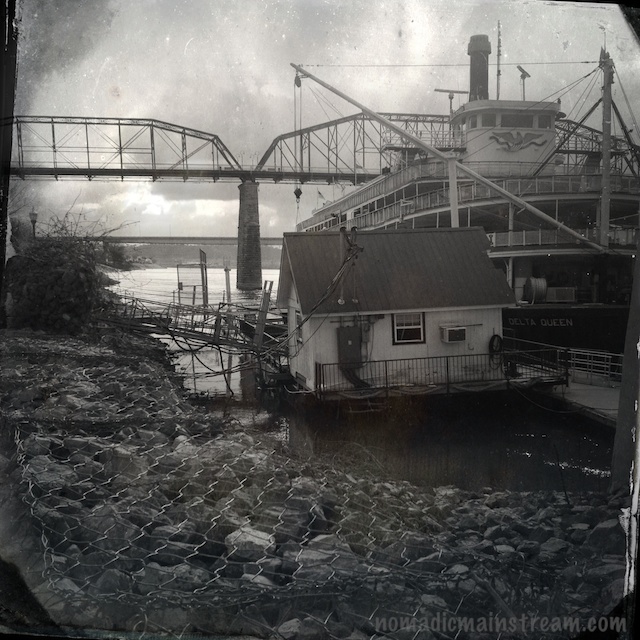
I really want to love the image below, but in order to get the bridge piers straight, I ended up with some weird looking edges. Notice the upper left hand corner compared to the right hand and how weird the lower right edge looks. It really bugs me.
Bridge, clouds, steam boat, water taxi house–what more could I ask for? Maybe a level.
The historic Walnut St pedestrian bridge in the background and the equally historic Delta Queen in the foreground with the little water taxi house/dock hovering over the water in front of it seemed like the perfect subject for tintype. I’m starting to visualize me walking around with my iPhone in its Lifeproof case with a level glued to it. That won’t look odd at all.
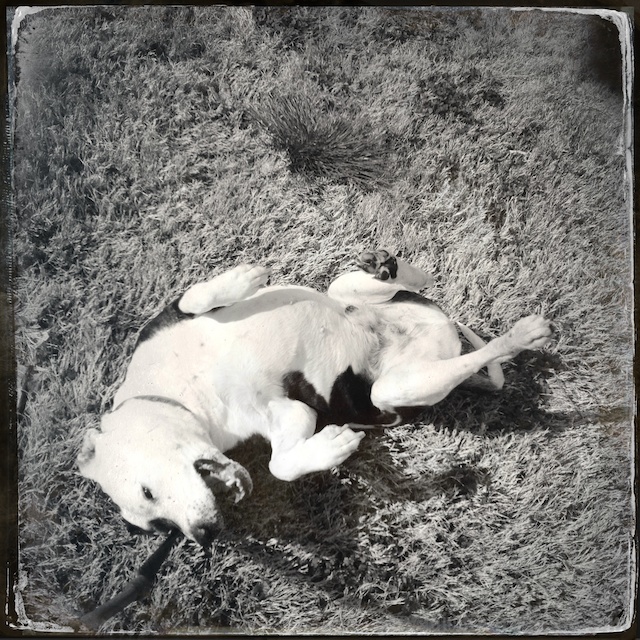
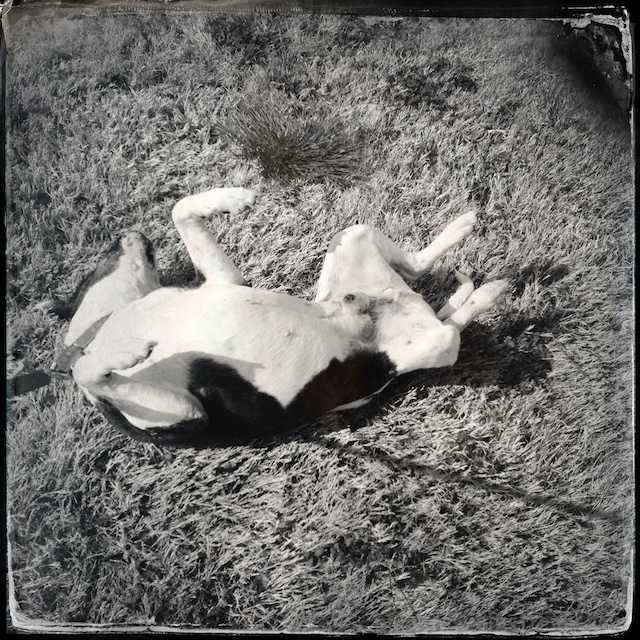
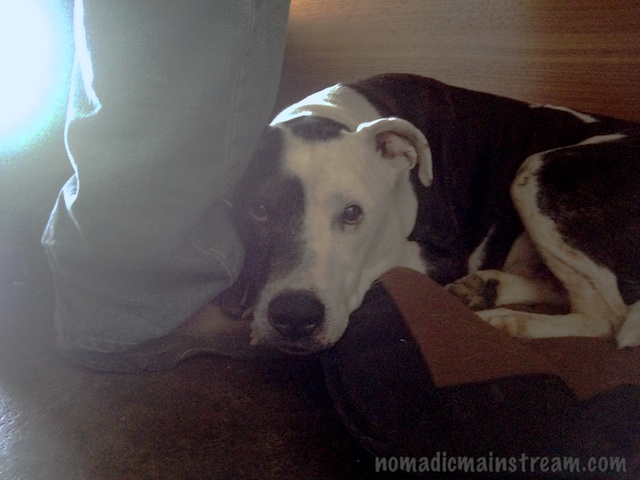
Tisen does not like Hipstamatic. He probably doesn’t know this about himself. None-the-less, his favorite part of photography is when I am sitting on the sofa with the laptop in my lap doing post-processing of the images and he is curled up next to me.

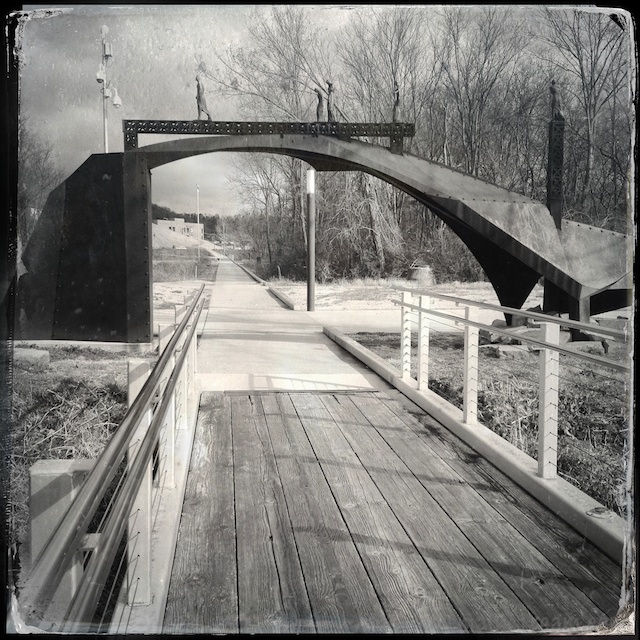
Looking up the street next to Market St bridge
Hipstamatic reduced my post-processing to 5 minutes since I discovered doing much to the images besides adjusting levels was rather destructive. That means less cuddle time for Tisen.
Unless, of course, it’s a Sunday morning, in which case it means setting aside my laptop sooner and giving him my undivided attention for an extra 20 minutes. In that case, he probably likes Hipstamatic a lot.
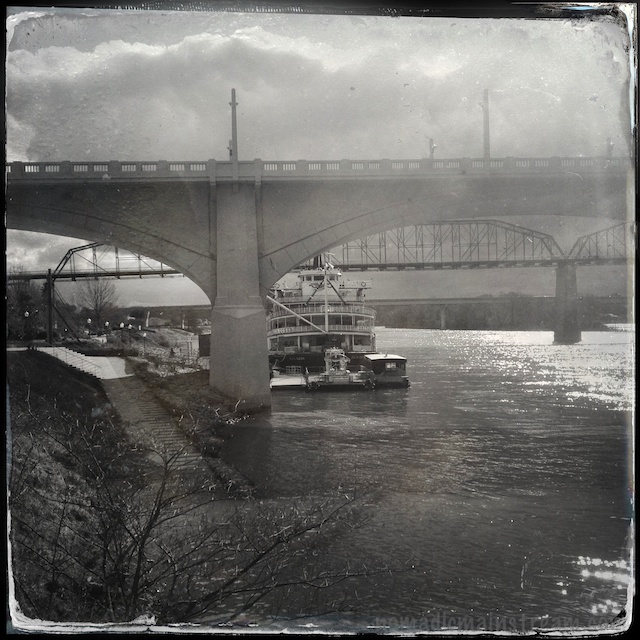
- The Delta Queen peeps from behind Market St bridge
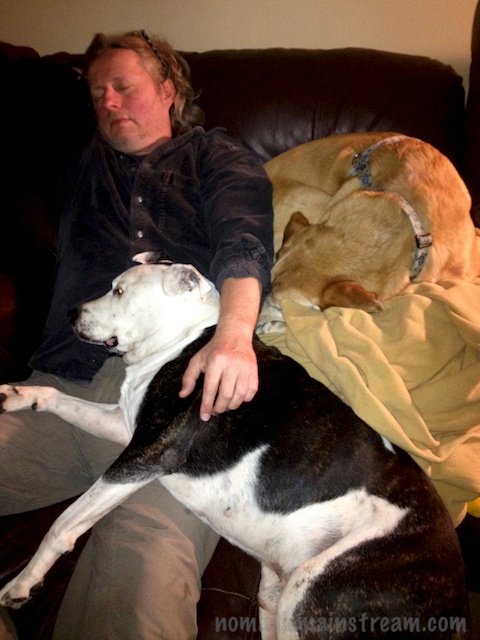
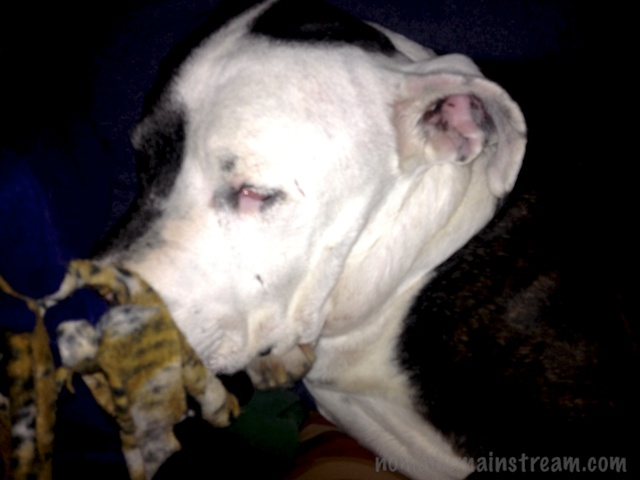
However Tisen feels about Hipstamatic, he’s definitely been enjoying cuddling. I’m not sure if it’s because the weather has been colder of late or if he’s just discovered the joys of being covered, but he suddenly needs to root under any available blanket. This started when the weather was warmer, but he only wanted his head covered then. We thought he was trying to block the light so he could nap more soundly.
Now, he burrows underneath until more or all of him is covered. After a few minutes, he starts sounding like he’s wheezing and we move the blanket so at least his nose is exposed, worried that he’s not getting enough oxygen. He often raises his head out from under the blanket and blinks at us as if he’s either confused or annoyed–or maybe both–when we do this. But his breathing quiets and he keeps his head uncovered, so I’m thinking we’re doing the right thing.

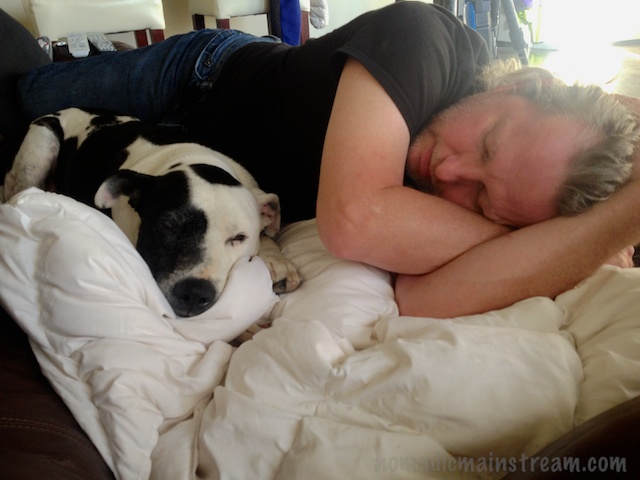
Uh, honey? Have you seen the dog?