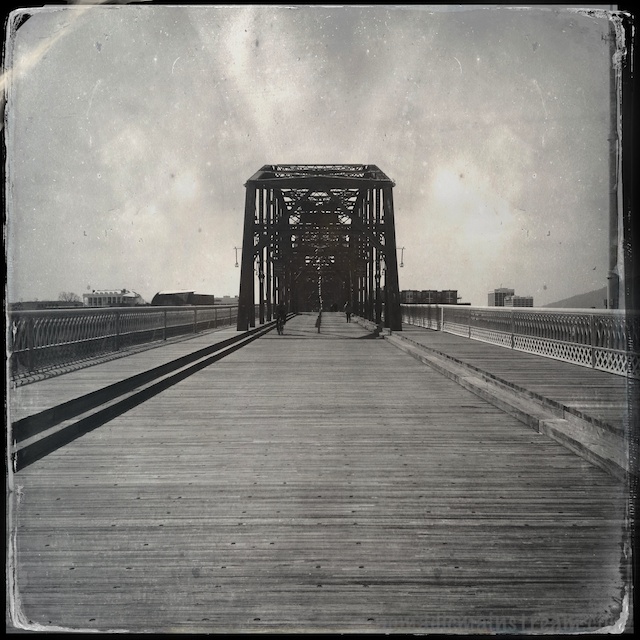
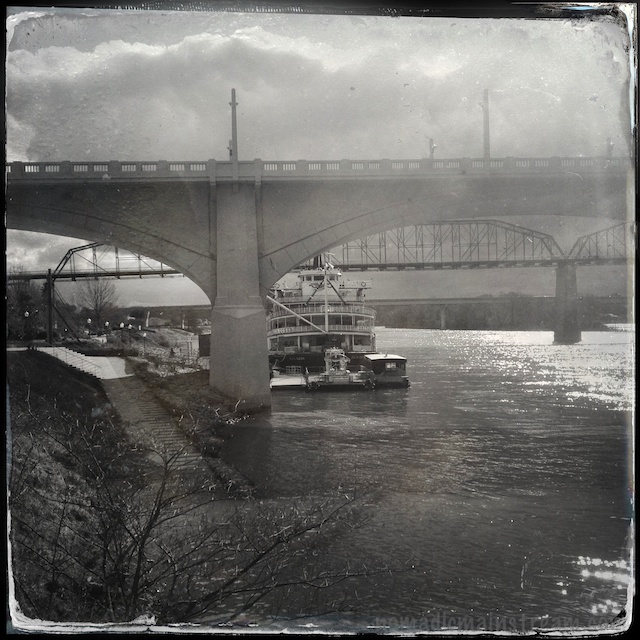
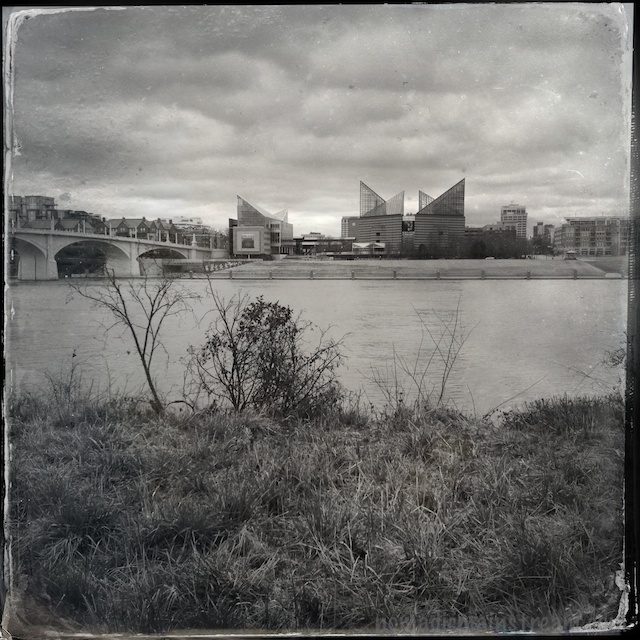
Distant view of the bluff and Hunter’s Museum from the Walnut Street Bridge
Choosing is the hardest thing about digital photography. Because it’s digital, most people take far more images than they would shooting film, me included. The more you take, the harder it is to choose.
Using the iPhone helps–I worry about my battery dying more with the iPhone than with my DSLR (and I usually have a spare battery fully charged in my pocket for the DSLR). Taking a dozen shots of the same subject with my iPhone seems excessive and risky. Had I been shooting with my DSLR, I probably would have shot at least 50.
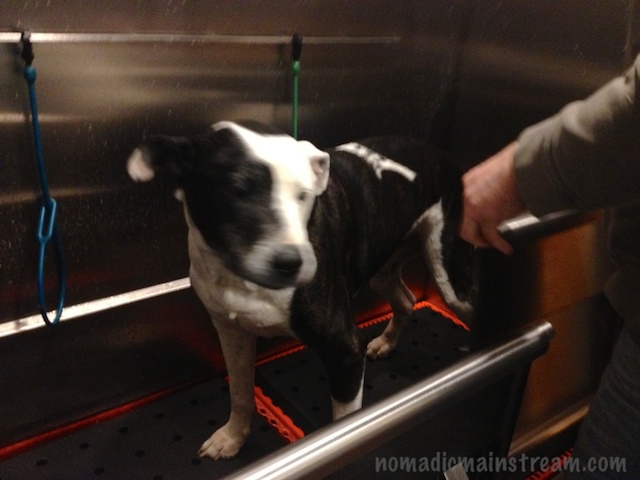
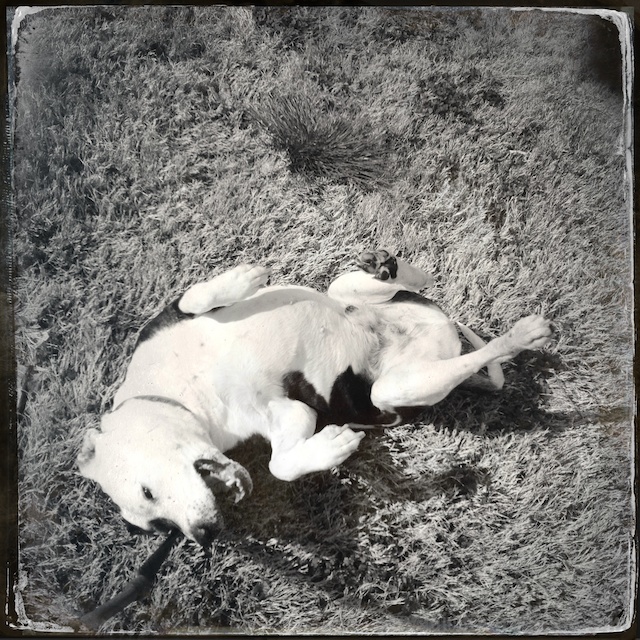
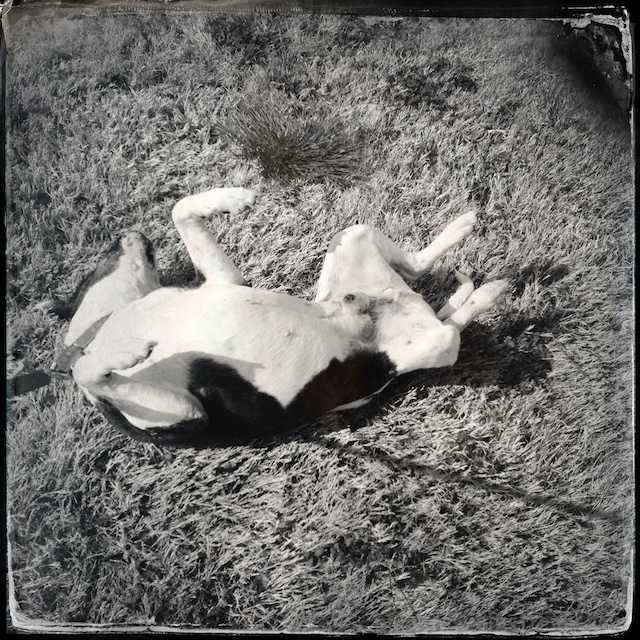
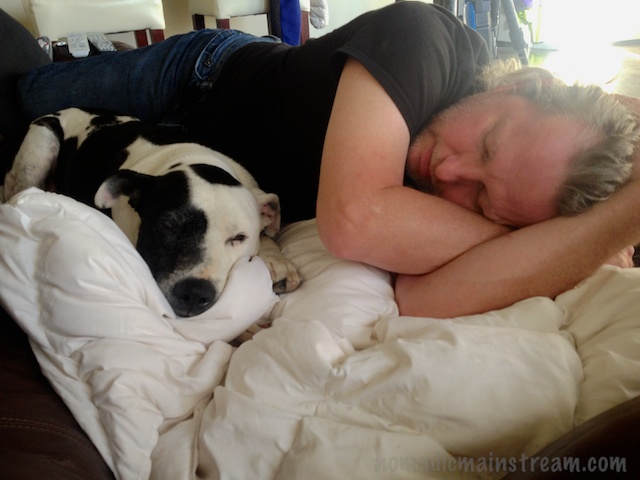
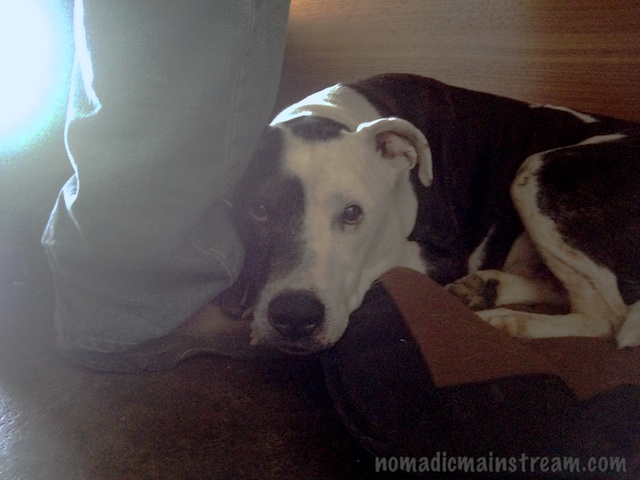
Taking a dog on a casual shoot also helps limit the excess. When Tisen gets restless, shooting becomes more difficult (because I’m holding his leash while I shoot) and it quickly becomes evident that it’s time to go home.

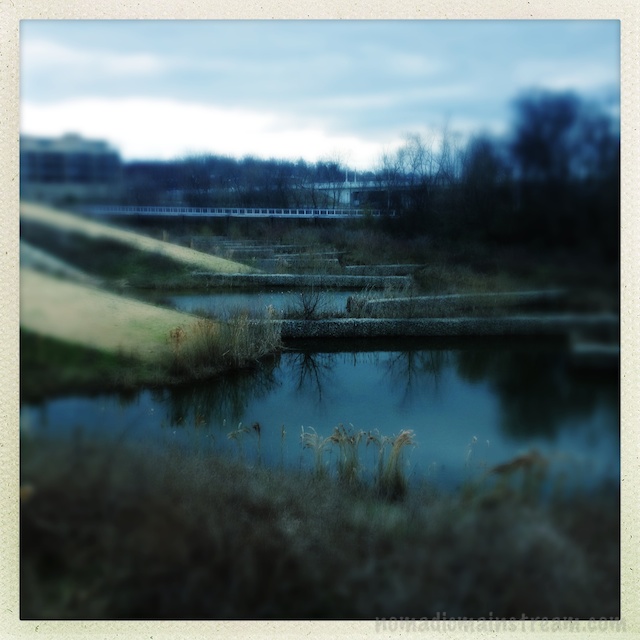
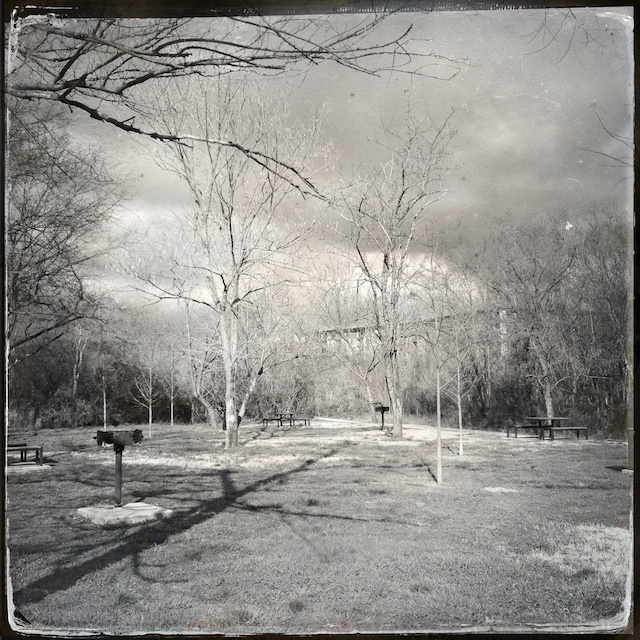
Hunter’s Museum, switchbacks, and Silhouette People
Sometimes limits on the number of images you can shoot is a good thing (usually about the time you download all of the images to your computer and start going through them). Sometimes it’s a bad thing. Like when you are on your way back from a shoot and the sun does this spectacular burst through the clouds and you stop to shoot it and your battery dies.
Most of the time, I wish I had fewer images to choose from. Sometimes the choice is obvious. Some images just don’t work. But often, there are subtle differences between several shots that make it excruciating to try to choose between them. I often just close my eyes and point.

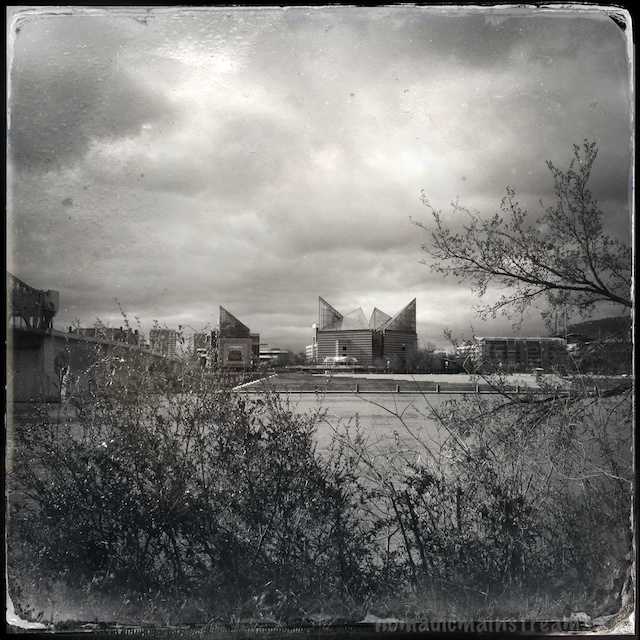
Hunter Museum and Silo-like thing in foreground
In today’s examples, I had a hard time picking between the image of the Hunter museum that shows the switch-back trail going down the slope in the foreground (one of the things about the riverfront I find amusing) and the image that includes the silo-like structure in the foreground. I particularly like the silhouette people on the overlook at the Hunter Museum in the first example. But the silo-thing is such a part of the landscape, it’s hard to resist.
I wanted to include a shot that shows the historical part of the Hunter Museum as well. Since the word anachronism seems to be among my favorites of late, the museum itself is an example with its modern design surrounding a 19th century mansion. But, I needed to cross the glass bridge to get a good angle of that and I didn’t think Tisen was up to it.

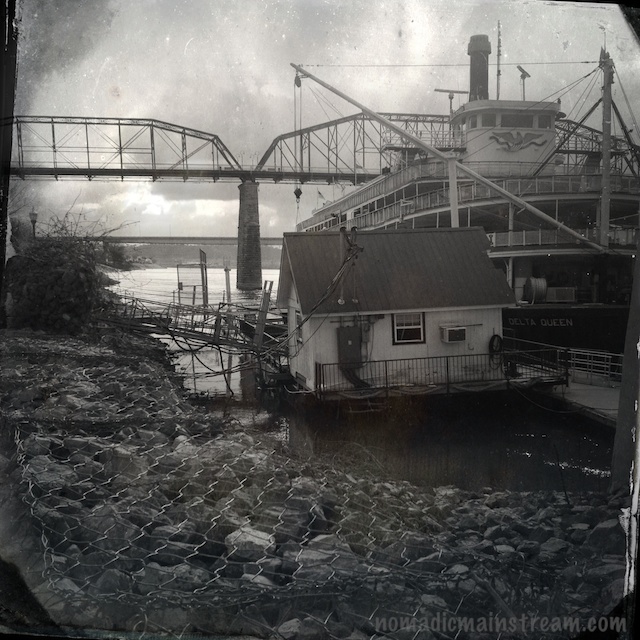
McLellan Island under Veteran’s Bridge and a Surprise Duck Tour boat
The second subject is McLellan Island, split by Veteran’s bridge. The surprise element (surprising to me) is the Duck tour boat (aka, DUKW) that suddenly appeared. Truly, it must be spring!
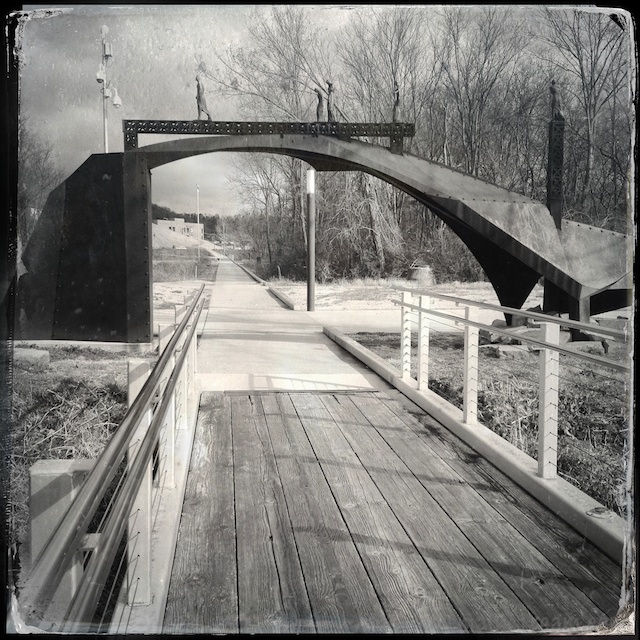
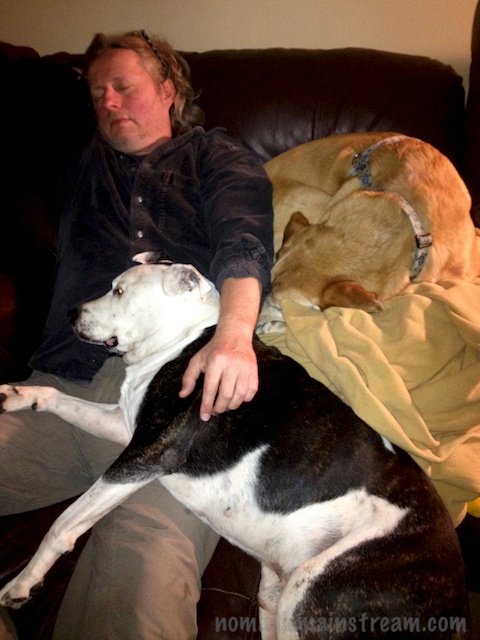
The one subject I didn’t shoot with Hipstamatic was the sculpture “High Four” with Tisen. I couldn’t quite get far enough away while holding Tisen’s leash to get it framed the way I wanted, but I’m happy I got a shot of the two of them together in any case–Tisen was very cooperative. Next time, I will bring a matching scarf for Tisen.

Tisen, being a cooperative model, smiles with “High Four”